

Total Time: 10 minutes (plus freezing time)
Servings: 6-8
Calories per Serving: 150-200 kcal (approximate)
Ingredients:
- 2 cups heavy cream
- 1 can (14 oz) sweetened condensed milk
- 1 tablespoon vanilla extract
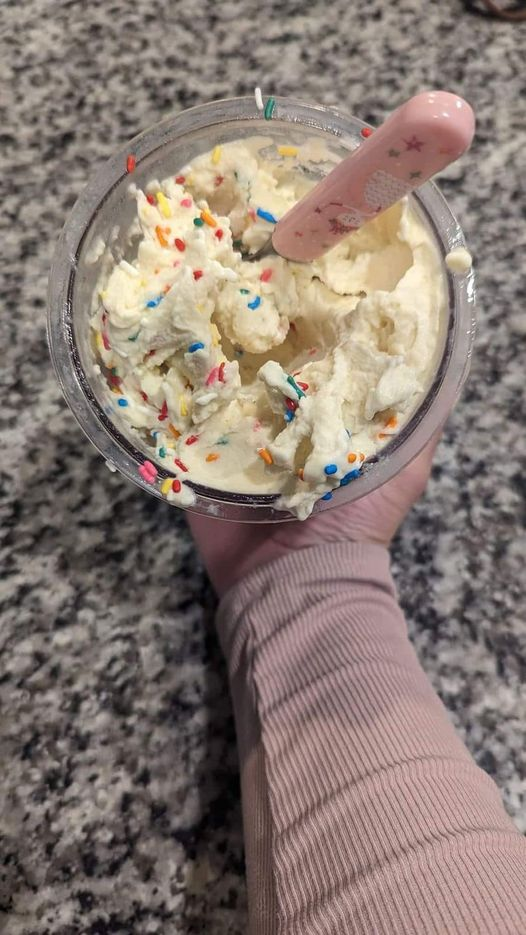
- 1/2 cup rainbow sprinkles
- 1/2 cup mini chocolate chips (optional)
- Pinch of salt
Instructions:
Step 1: Prepare the Mixing Bowl
Start by grabbing a large mixing bowl. It’s essential that the bowl is large enough to allow the cream to expand as you whip it.
Step 2: Whip the Heavy Cream
Pour the 2 cups of heavy cream into the mixing bowl. Using a hand mixer or stand mixer, beat the cream on medium-high speed until stiff peaks form. This should take about 3-5 minutes. You’ll know it’s ready when the cream stands upright on its own and doesn’t fall back into the bowl.
Step 3: Add the Sweetened Condensed Milk
In a separate bowl, combine the 14 oz can of sweetened condensed milk with the vanilla extract and a pinch of salt. Stir gently until fully mixed.
Step 4: Fold Together the Ingredients
Carefully fold the sweetened condensed milk mixture into the whipped cream. Use a spatula to gently mix until there are no streaks of whipped cream left. You want to keep as much air in the mixture as possible to maintain a light, airy texture.
Step 5: Add the Sprinkles
Once the two mixtures are combined, gently fold in the rainbow sprinkles. If you’d like, you can also add in mini chocolate chips or any other mix-ins you prefer.
Step 6: Freeze the Ice Cream
Transfer the mixture into a 9×5 loaf pan or any container you have on hand. Smooth the top with a spatula and cover tightly with plastic wrap or a lid.
Freeze for at least 4 hours, or preferably overnight, until the ice cream is fully set.
Optional Add-ins and Variations:
- Chocolate Swirl: You can swirl in some melted chocolate or fudge sauce before freezing for an extra indulgent treat.
- Fruit Flavor: Blend in some pureed strawberries, mango, or berries to create a fruity version of this ice cream.
- Nutty Twist: Add chopped nuts such as almonds or pecans for extra crunch.
Tips:
- Make it Ahead: This ice cream is great for making ahead of time. The flavors develop more the longer it sits, so it’s perfect for preparing a day or two in advance.
- Texture: If you prefer a more traditional ice cream texture, you can use an ice cream machine, but this no-churn version is much quicker and easier!
- Freezing Tips: After removing from the freezer, let it sit for a few minutes to soften slightly before scooping for the best consistency.
Serving Suggestions:
Serve your no-churn vanilla ice cream in bowls or cones with a drizzle of chocolate syrup or a few more sprinkles on top for that extra fun touch! You can also serve it alongside a piece of warm cake or a brownie for a complete dessert.
Personal Story:
This recipe is inspired by childhood memories of mixing together ice cream and fun toppings on hot summer days. The rainbow sprinkles remind me of my favorite ice cream parlors, where I could load up the toppings without a care in the world. It’s a simple treat that brings back those happy moments, and best of all, it’s easy to make at home!
Nutritional Information (per serving):
- Calories: 160 kcal
- Protein: 2g
- Fat: 10g
- Carbs: 16g
- Sugar: 14g