
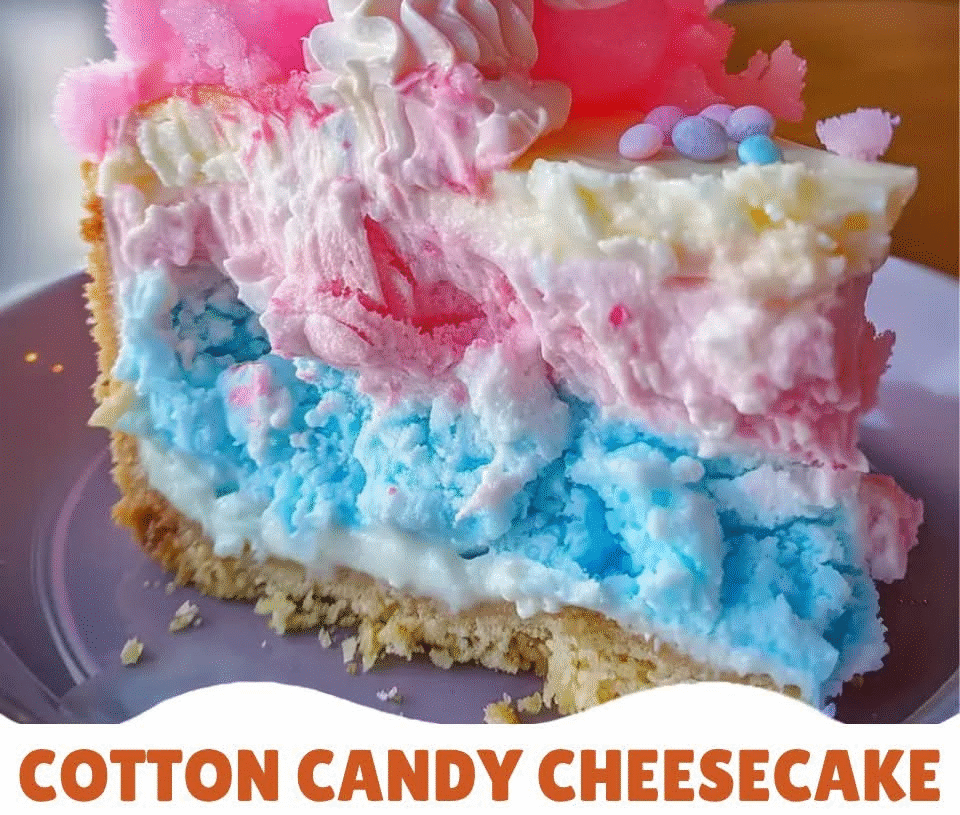
Introduction: A Sweet, Colorful Delight Cotton Candy Cheesecake is a whimsical, eye-catching dessert that brings the fun and nostalgia of cotton candy into the form of a creamy cheesecake. With its layered colors resembling fluffy cotton candy and a base made of a buttery graham cracker crust, this cheesecake is both a feast for the eyes and the taste buds. It combines the silky texture of cheesecake with the sweet, light, and airy flavors of cotton candy, making it an unforgettable treat.
The cheesecake’s fluffy layers are made with cream cheese, whipped cream, and a touch of cotton candy flavoring, while the vibrant colors (usually pink, blue, and white) make it a perfect choice for celebrations, parties, or any event that calls for something extra special.
This cheesecake is no-bake, making it incredibly easy to prepare. Let’s dive into the steps to create this magical, fun dessert!
Ingredients
Here’s everything you’ll need to make Cotton Candy Cheesecake:
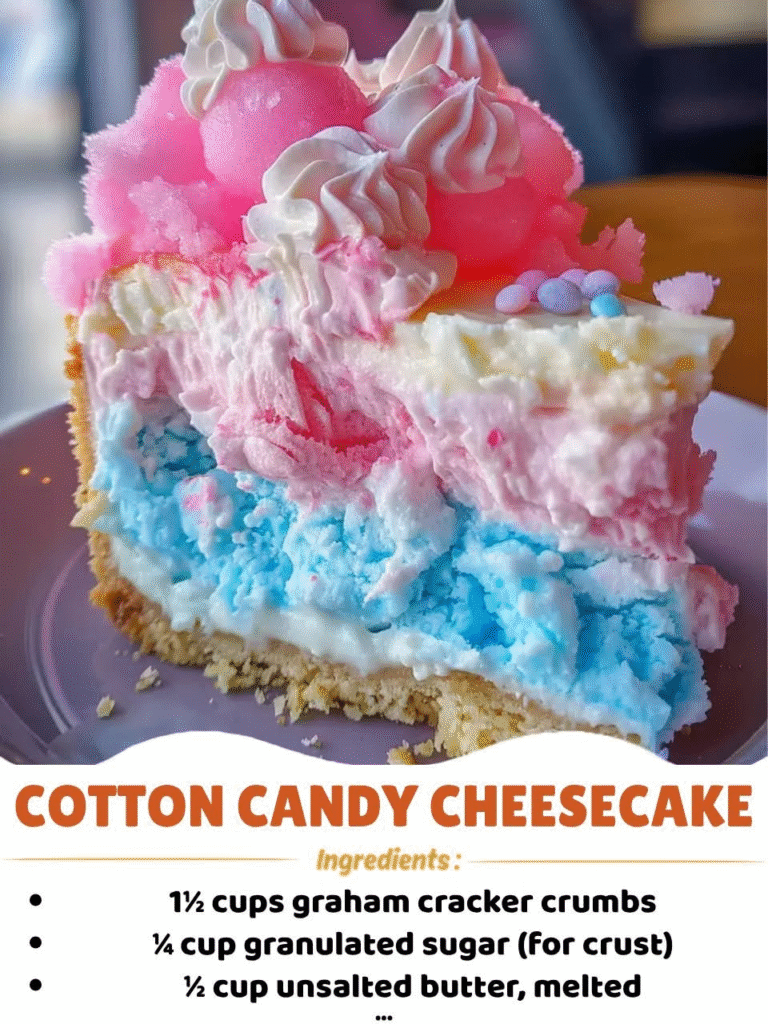
For the Crust:
- 1 ½ cups graham cracker crumbs (for a sweet, buttery base)
- ¼ cup granulated sugar (for sweetness)
- ½ cup unsalted butter, melted (for binding the crumbs together)
For the Cheesecake Filling:
- 16 oz cream cheese, softened (for a smooth, creamy texture)
- ½ cup granulated sugar (for sweetness)
- 1 tsp cotton candy flavoring (available at specialty stores or online)
- 1 cup heavy whipping cream (for a fluffy, light texture)
- 1 tsp vanilla extract (to enhance the flavor)
- Food coloring: Pink, blue, and white (or colors of your choice) for the cotton candy effect
For Topping:
- Whipped cream (for the fluffy topping)
- Cotton candy (for garnish, optional)
- Colorful sprinkles (optional, for extra fun and decoration)
Step-by-Step Instructions
Step 1: Prepare the Crust
- Preheat the oven: Preheat your oven to 350°F (175°C).
- Prepare the graham cracker crumbs: In a medium mixing bowl, combine the 1 ½ cups graham cracker crumbs and ¼ cup granulated sugar. Mix well to ensure the sugar is evenly distributed.
- Add the melted butter: Pour in the ½ cup unsalted butter, melted, and stir until the mixture is evenly coated. The butter helps bind the crumbs together and gives the crust a nice, buttery texture.
- Press the crust into the pan: Lightly grease a 9-inch springform pan and press the graham cracker mixture into the bottom of the pan. Use the back of a spoon or a glass to pack the crumbs tightly and evenly across the base.
- Bake the crust: Place the crust in the preheated oven and bake for 8-10 minutes, or until the edges are lightly golden. Remove from the oven and let it cool completely before filling it with the cheesecake mixture.
Step 2: Prepare the Cheesecake Filling
- Beat the cream cheese: In a large mixing bowl, beat the 16 oz softened cream cheese and ½ cup granulated sugar using an electric mixer until the mixture is smooth and creamy. This may take 2-3 minutes on medium-high speed.
- Add the cotton candy flavoring: Once the cream cheese mixture is smooth, add 1 tsp cotton candy flavoring and 1 tsp vanilla extract. Beat again until fully incorporated.
- Whip the heavy cream: In a separate mixing bowl, whip the 1 cup heavy whipping cream with an electric mixer until soft peaks form. This will take about 3-4 minutes on high speed.
- Fold in the whipped cream: Gently fold the whipped cream into the cream cheese mixture using a spatula. Be careful not to deflate the whipped cream, as you want the filling to remain light and airy.
Step 3: Layer the Cheesecake Filling
- Divide the mixture: Divide the cheesecake filling into three bowls. The first bowl will remain white, the second will be pink, and the third will be blue.
- Add food coloring: To the second bowl, add pink food coloring until you reach the desired shade. To the third bowl, add blue food coloring until you reach the desired shade. Leave the first bowl white.
- Layer the cheesecake: Starting with the white filling, spoon a layer of cheesecake filling into the prepared crust. Use a spatula to spread it evenly across the pan. Next, add a layer of the pink filling, followed by a layer of the blue filling. Continue layering until all the cheesecake filling is used up. You can alternate the layers in any order, but the goal is to create a colorful, swirled effect.
- Smooth the top: Once all the filling is added, use a spatula to smooth the top of the cheesecake. You can also use a toothpick or skewer to gently swirl the colors together for a marbleized effect.
Step 4: Chill the Cheesecake
- Refrigerate the cheesecake: Cover the cheesecake with plastic wrap or a lid and refrigerate for at least 4 hours, or preferably overnight, to allow the cheesecake to set and the flavors to meld together.
Step 5: Garnish and Serve
- Top with whipped cream: Before serving, top the cheesecake with whipped cream around the edges. You can pipe the whipped cream using a piping bag for a decorative effect.
- Add cotton candy: If desired, top the cheesecake with small pieces of cotton candy for a fun and festive look. You can also add colorful sprinkles to add more texture and color.
- Slice and serve: Carefully slice the cheesecake into wedges and serve chilled. The cheesecake is rich and creamy, with a playful cotton candy flavor in every bite.
Nutritional Breakdown (per serving)
Here’s an approximate nutritional breakdown for each serving of Cotton Candy Cheesecake, assuming the recipe makes 12 servings:
- Calories: ~350-400 kcal per serving
- Protein: ~5g
- Carbohydrates: ~35g
- Fat: ~20g
- Fiber: ~1g
- Sugar: ~25g (natural sugars from the cheesecake filling and toppings)
- Sodium: ~150mg
The nutritional values will vary depending on specific ingredient choices, such as the type of sugar and cream cheese used, as well as the size of the serving.
Tips for Success
Here are a few tips to make sure your Cotton Candy Cheesecake turns out perfect:
- Use quality ingredients: Use high-quality cream cheese and whipping cream for the best taste and texture. Full-fat cream cheese will provide a rich and creamy base for the cheesecake.
- Chill the cheesecake overnight: The longer the cheesecake sits in the fridge, the better the flavors will set. If you can, let it chill overnight to allow the flavors to meld and the texture to firm up.
- Add more color: Feel free to experiment with different food colors to create more vibrant layers. You can also try using pastel colors for a softer look.
- Be gentle when folding: When folding the whipped cream into the cream cheese mixture, be gentle to maintain the light and airy texture of the filling.
Variations
Here are some fun variations you can try for the Cotton Candy Cheesecake:
- Different Flavors: Use bubblegum or cotton candy flavoring in the cheesecake filling for a more authentic cotton candy taste.
- Tropical Twist: Add a layer of mango or pineapple purée between the cheesecake layers for a tropical twist.
- Chocolate Drizzle: Drizzle some melted chocolate over the top of the cheesecake for a chocolate-cotton candy combination.
- Vegan Version: Substitute the cream cheese with vegan cream cheese and use coconut cream or almond milk for the filling to make it dairy-free.
Storage and Reheating
- Refrigeration: Leftover Cotton Candy Cheesecake can be stored in an airtight container in the refrigerator for up to 5 days.
- Freezing: You can freeze the cheesecake if you want to store it for a longer period. Wrap the cheesecake tightly in plastic wrap and aluminum foil, and freeze for up to 1 month. Let it thaw in the fridge for a few hours before serving.
Serving Suggestions
- Pair with fresh fruit: Serve the cheesecake with fresh fruit like strawberries, blueberries, or kiwi for a refreshing contrast to the sweetness of the cheesecake.
- Serve with sparkling drinks: This playful dessert pairs wonderfully with sparkling lemonade or champagne for an extra touch of celebration.
Final Thoughts
This Cotton Candy Cheesecake is a fun, colorful, and indulgent dessert that’s perfect for parties, special occasions, or whenever you want to add a little sweetness and whimsy to your day. With its creamy layers, vibrant colors, and playful cotton candy flavor, it’s sure to be a crowd-pleaser!
Enjoy this delightful dessert and feel free to experiment with different flavors and toppings to make it your own!